To finish the living room of the new apartment I decided to try an idea of mine that had been rattling about my head for a while: using hollow core doors to build Ikea-styled furniture.
After some patient searching I sourced some materials through Kijiji, though I got more than I bargained for. How many doors can you fit in a VW Golf? Well it depends on how your counting: 17 if you consider the bi-fold closet door pairs as one, 22 if you don't.


Begin construction.
I used the bi-fold doors as they only required re-sizing in one dimension.

I ripped some pine to 1 1/8" using the band saw to use for shims in the cut ends of the doors and glued them in place.

I made the holes in the sides large enough to allow some clearance around the screws I was going to use since I didn't use a jig for drilling my hole in the shelves. In the end it went together without too much trouble. I installed threaded glides (feet) in the four corners so I could ensure the finished product sits level.

Then knocked it apart again and transported it home since the weather was to finally turn to rain, and rain it did. It was fortunate that I didn't choose to store it in my old landlords basement as the storm turned it into a 4" swimming pool that night. Some of my tools got wet but nothing that couldn't just be dried out, though the digital torque gauge needed to be disassembled and actively dried with a hairdryer.
In position, awaiting a decision on stain.

I went with one step espresso stain, it took a whole can for the first coat and the second turned out a little darker than I had hoped, but it still looks good. All my spacing measurements worked out, the wicker baskets are a little sung but functional, and turns out we had a record player that needed a home - records too. The bottom shelf needed to be shimmed with an old log book from second year engineering due to the weight of the textbooks. I will install a couple more threaded glides, - front and back along the mid-line of the shelf - when it comes down in the next move.

After some patient searching I sourced some materials through Kijiji, though I got more than I bargained for. How many doors can you fit in a VW Golf? Well it depends on how your counting: 17 if you consider the bi-fold closet door pairs as one, 22 if you don't.
Before I even had a chance to get started we had found other uses for the doors. Here we expanded Ryan's desk space and built a riser for his monitors. The hole for the door handle provided a convenient cable pass through - a feature I employed in my own desk.
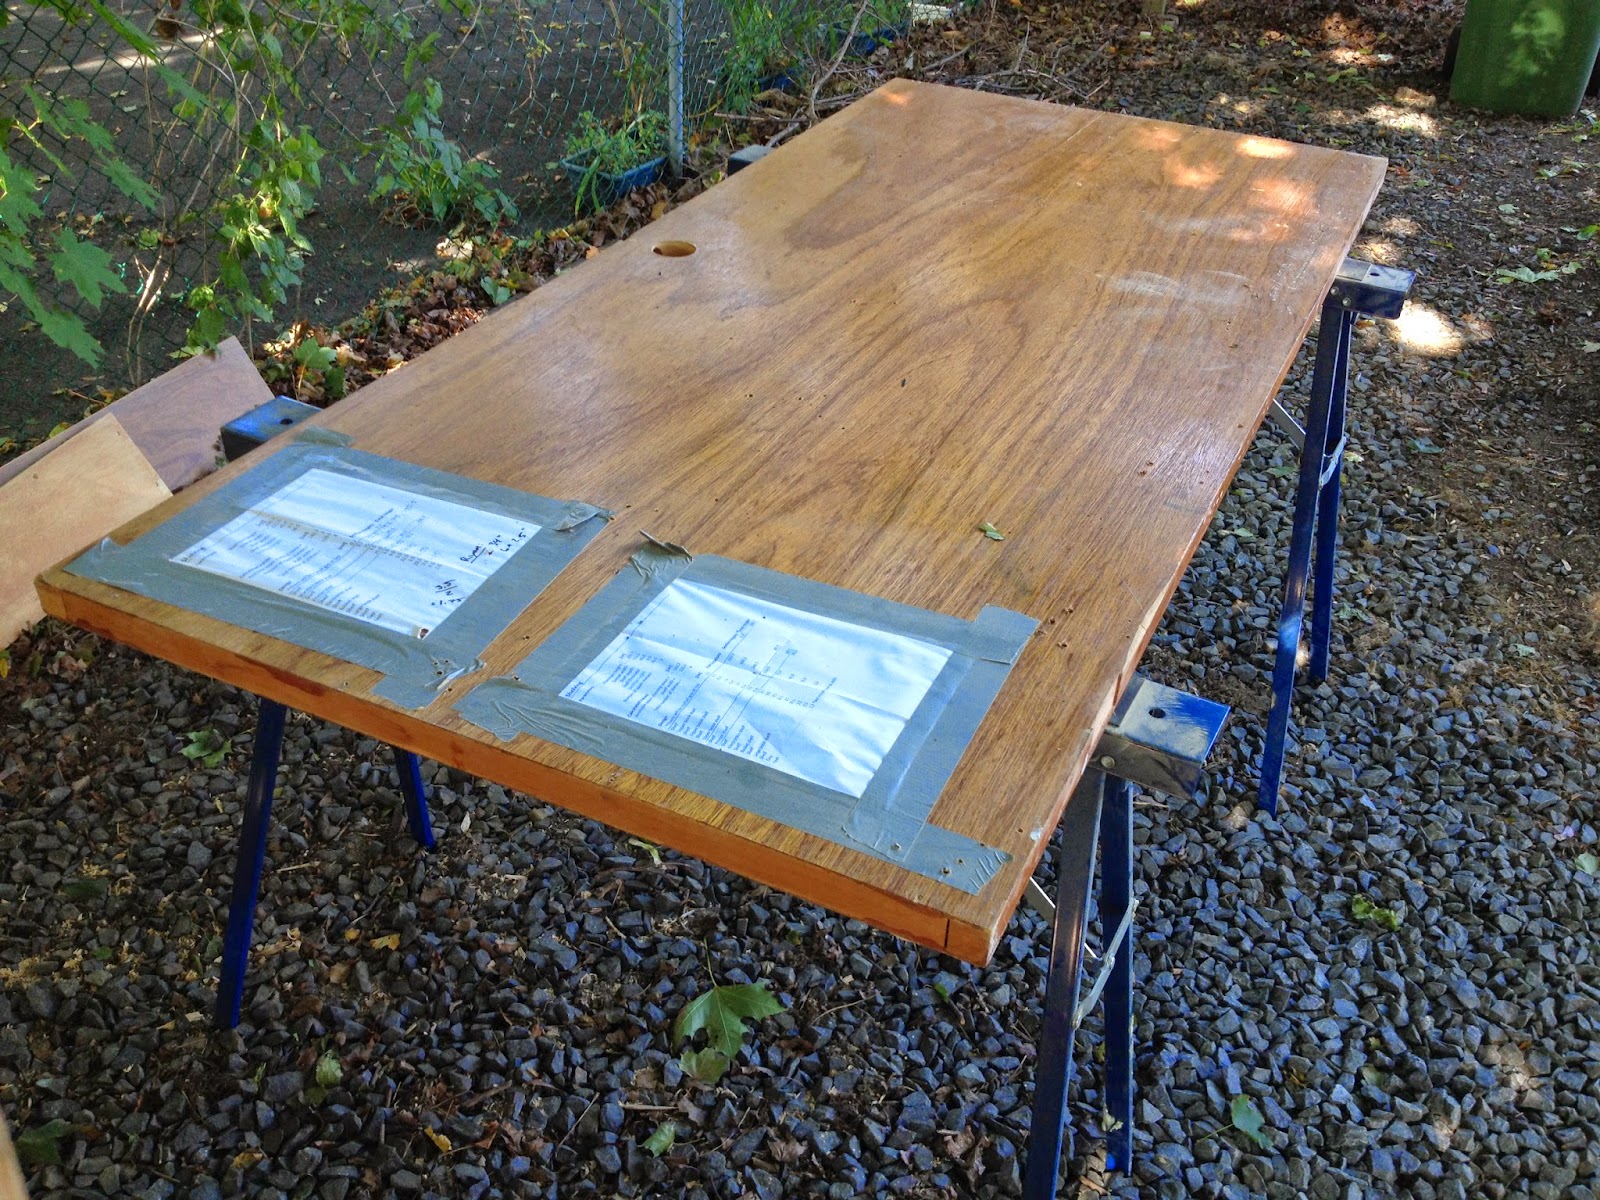
Another of the doors turned into my work bench, taped to it are the shelf spacing's: the bottom shelf needed to accommodate textbooks, the second some old wicker baskets I was using for storage, the third the stereo receiver and Xbox, and the fourth the printer. The remaining space was divided into equal parts for general use, I got lucky and it turns out my 'equal parts' are just the right height to accommodate most novels; naturally all of this was done in Excel - <3 Excel.
Begin construction.
I used the bi-fold doors as they only required re-sizing in one dimension.
I ripped some pine to 1 1/8" using the band saw to use for shims in the cut ends of the doors and glued them in place.
I made the holes in the sides large enough to allow some clearance around the screws I was going to use since I didn't use a jig for drilling my hole in the shelves. In the end it went together without too much trouble. I installed threaded glides (feet) in the four corners so I could ensure the finished product sits level.
Then knocked it apart again and transported it home since the weather was to finally turn to rain, and rain it did. It was fortunate that I didn't choose to store it in my old landlords basement as the storm turned it into a 4" swimming pool that night. Some of my tools got wet but nothing that couldn't just be dried out, though the digital torque gauge needed to be disassembled and actively dried with a hairdryer.
I went with one step espresso stain, it took a whole can for the first coat and the second turned out a little darker than I had hoped, but it still looks good. All my spacing measurements worked out, the wicker baskets are a little sung but functional, and turns out we had a record player that needed a home - records too. The bottom shelf needed to be shimmed with an old log book from second year engineering due to the weight of the textbooks. I will install a couple more threaded glides, - front and back along the mid-line of the shelf - when it comes down in the next move.


